
What Are the Best Practices for Shooting Vertical Videos?

Updated: Oct 4
Most people watch video on their phones now, holding them upright, so vertical has gone from a nice-to-have to the format a lot of clips actually live in. Shooting tall comes with its own quirks though. Here's how we keep our vertical work looking sharp instead of cramped.

Understand Your Audience
Knowing who's going to watch changes how you shoot. Making content for a younger crowd? Leaning into whatever's trending pays off. Shooting for buyers or business owners? Get to the point fast and respect their time.
Pay attention to where it's going to live, too. A clip that kills on Instagram can fall flat on TikTok or YouTube, because each one rewards something a little different. The analytics on each platform will tell you what your viewers actually stick around for, so check them and adjust.
Frame Your Shots
Vertical gives you a skinny window to work with, so framing matters more, not less. Use the rule of thirds, look for natural lines that pull the eye, and think about how your subject fits in a tall frame before you hit record.
Move around while you're at it. Shoot from up high, drop down low, see what each angle does to the feel of the shot. A low angle makes a subject feel bigger, a high one makes it feel smaller, and those little choices add up to the story you're telling.
Optimize for Mobile Viewing
Check that nothing important gets cut off on a phone screen. Keep captions readable and tuck your key text into the safe zone so it survives different screen sizes. Most platforms publish their ideal dimensions, and it's worth following them.
A ton of people watch with the sound off, so your visuals have to carry the message on their own. Good contrast, decent lighting, and clear on-screen text go a long way. And hook them in the first couple seconds, because phone attention spans are short and a slow open loses people.
Use Steady Shots
Shaky footage reads as amateur fast. A tripod, gimbal, or handheld stabilizer makes a bigger difference than almost anything else, and it opens up smoother moving shots too.
No gear handy? You can still get steady. Tuck your elbows in, breathe slow, and move your whole body instead of just your arms. It's not magic, but it cleans up a lot of the wobble.
Mind the Background
What's behind your subject sets the whole tone, so don't ignore it. Clear the clutter indoors, and outdoors pick a spot that adds to the shot instead of fighting it.
A little depth of field helps. A sharp subject against a soft background looks more polished and keeps the eye where you want it. That just means setting your aperture with the look you're after in mind.
Edit for Impact
Edit with the format in mind. Quick cuts and clean transitions keep a vertical clip moving, and the pacing tells viewers something's coming so they stick around.
Cut in software that previews vertical properly, so you're not surprised by cropped text or off-center graphics later. Beyond the basic trimming, split screens or picture-in-picture come in handy when you're showing two ideas at once.
Sweat the small stuff. Color and sound are the parts people don't consciously notice, but they're what make a clip feel finished instead of thrown together.
Specs Worth Getting Right
The technical side is short, but it matters. Shoot 1080 by 1920 at a minimum, or 4K vertical if your camera does it, because the extra resolution gives you room to crop and reframe later. Thirty frames per second covers most things, sixty if you want clean slow motion. Keep clips under about sixty seconds for most feeds, and put the hook in the first two.
Watch your safe zones. Every platform lays its own interface over your video, so the bottom fifth and the right edge get covered by captions, buttons, and usernames. Anything you actually need people to read belongs in the middle of the frame.
Shooting Vertical for a Property Tour
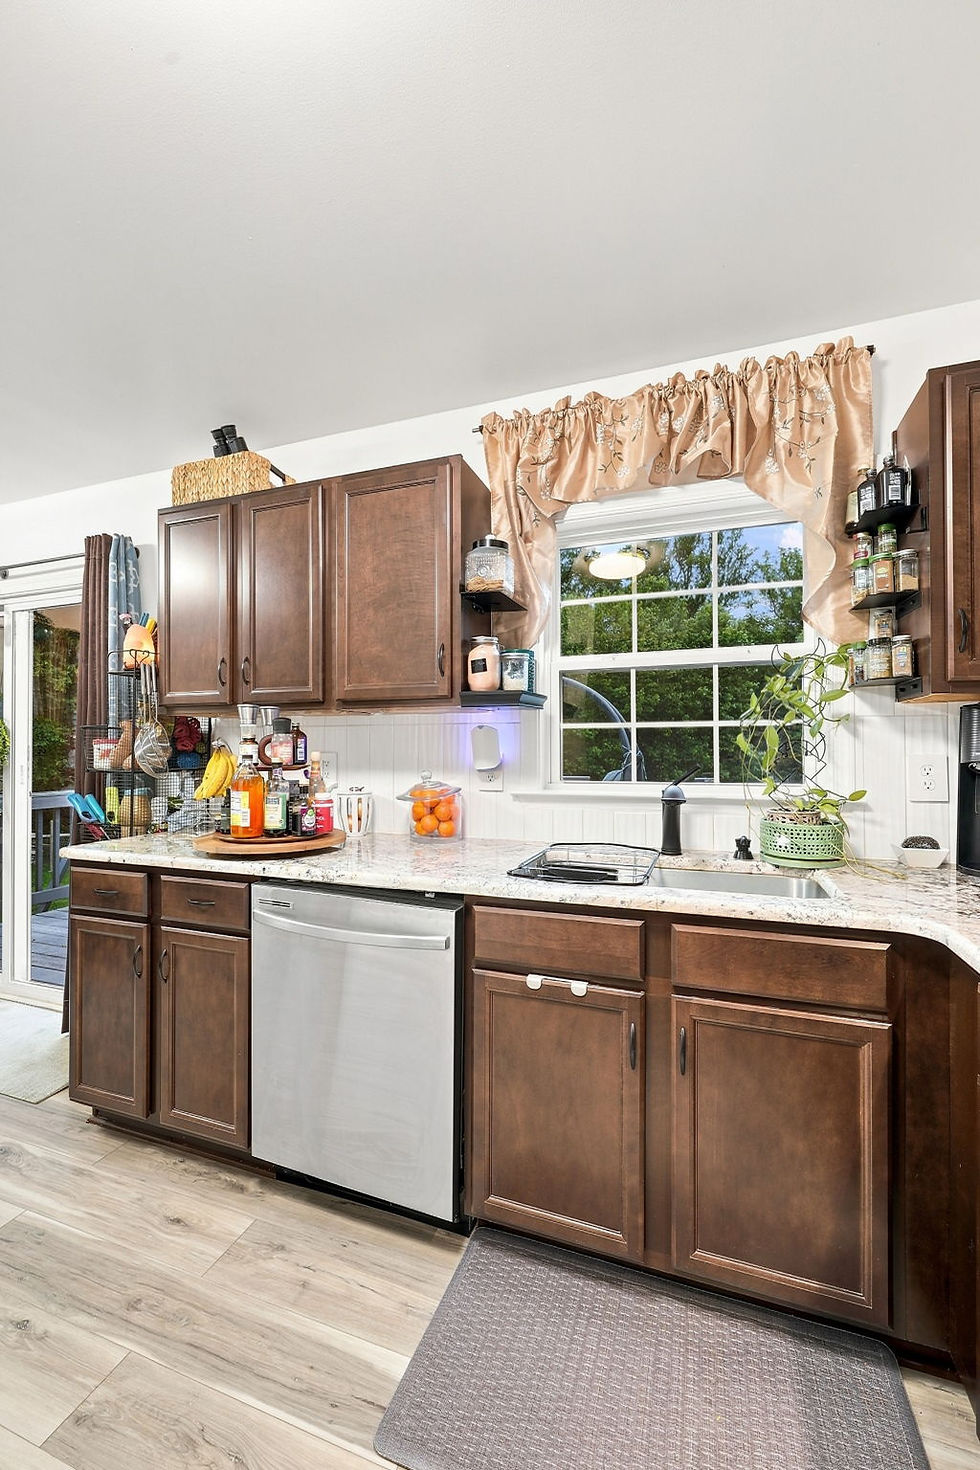
Real estate is where we shoot the most vertical, and it has its own quirks. A tall frame is genuinely good for interiors, because it catches ceiling height, which is the one thing wide horizontal shots tend to flatten. Walk slowly through a doorway and the vertical frame makes a room read like a space instead of a photo.
The trap is exteriors. A wide ranch house in the Upstate or a long Richmond rowhouse does not fit in a vertical frame from the ground. You either back way up, go up with a drone and tilt down, or accept that the exterior is a horizontal shot and lead your vertical clip with the kitchen instead.
A Quick Pre-Shoot Checklist
Lens wiped clean and storage cleared before you leave
Airplane mode on, so an incoming call does not kill a take
Exposure and focus locked before you start moving
A few seconds of handle at the start and end of every clip, for editing room
A horizontal version of your best shots too, if the footage might get reused somewhere else
Shoot more than you think you need. Vertical edits move fast, and having three usable takes of the same move is the difference between a clip that flows and one that feels stitched together.
Wrapping Up: Vertical Video Success
Vertical can feel awkward at first, but once these habits stick, it's just how you shoot. Social, marketing, a quick property teaser, the basics carry over and your clips end up looking like you meant them. And if you'd rather hand off the bigger productions, here's why 3D virtual tours win listings in the Carolinas and Virginia. Shooting the clips is one thing. Posting them on a schedule that does not fall apart by week three is another, and that side is our social media management work.
Want vertical content that actually looks pro? That's our day job. Beyond All Media shoots real estate and business video across Upstate SC, Columbia, and Richmond VA. Reach us in the Carolinas at (864) 714-0724 or Richmond at (804) 913-3013.



Comments