
The Role of Cut and Color in Captivating Drone Imagery

Updated: Jul 21
Drone tech made aerial photography easy to get into, which is great. But getting up in the air is the easy part. Turning that raw footage into something people actually want to watch comes down to the edit, and that's mostly cuts and color. Here's how those two work, and why they matter on every aerial job we shoot.

Understanding the Basics of Drone Imagery
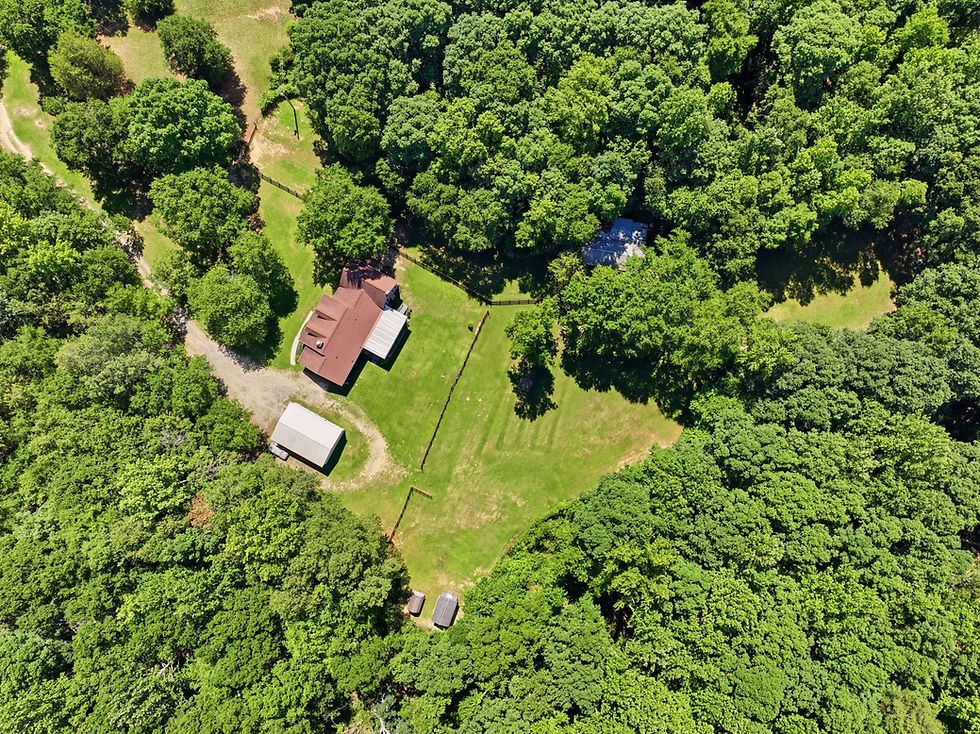
A good aerial shot is more than a view from up high. It's a composition that tells you something. The reason drone work hits different is the perspective. You can show a whole property and the little details around it in one frame, which gives a scene context you just can't get from the ground. Leading lines, symmetry, and depth of field all pull the viewer's eye where you want it.
Light matters just as much. Early morning and the hour before sunset give you soft, warm light that brings out texture and color. Midday flips it and hands you hard shadows for contrast. Both can work. The catch is that heavy shadow can also bury detail, so sometimes you're cleaning that up afterward.
The last piece is planning. A drone isn't locked to one spot like a tripod, so you can work different heights and angles and grab the same scene a dozen ways. That freedom only helps if you've scouted the spot and know what you're after before you take off. Knowing the terrain is half the shot.
The Importance of Cuts in Editing Drone Footage
In video, cuts are how you control pace. They're what turn a pile of clips into something with rhythm. A straight cut is your workhorse, a quick jump from one scene to the next that keeps the energy up. J-cuts and L-cuts are subtler. You let the audio from one shot run under the next, and the two blend without the viewer ever noticing the seam.
Jump cuts push the story forward or show that time has passed. They're more noticeable, so use them on purpose. Cross-cutting is another good one, bouncing between two scenes to build tension or show two things at once. It's great for playing a busy downtown against a quiet stretch of country, which drones capture really well.

Enhancing Visual Appeal with Color Grading
Color grading is where a clip gets its mood. Nudge the colors and you can steer how a shot feels, pull attention to one spot, or just make the whole thing read cleaner. Watch your saturation so the sky and the greenery pop without going cartoonish. Temperature sets the tone too, warm to lean into a golden sunset, cooler for a quiet, foggy morning.
There's real psychology to it. Warm tones feel cozy, blues and greens feel calm. Those choices land with people whether they notice or not. Shadow work plays in here as well, lifting the dark spots so you don't lose texture or shift the colors in a weird direction.
Most editing apps give you plenty to work with, color wheels, curves, LUTs, the whole kit. Those let you match shots so a sequence stays consistent and carries a look that's yours. One thing to remember: go easy. The fastest way to wreck a beautiful scene is to crank it too hard. Pull back the harsh tones and let the place speak for itself.
Grading for Southern Light in Upstate SC and Richmond
Where you're flying changes how you grade. Summers in Upstate SC around Greenville, Spartanburg, and Anderson bring real humidity, and that haze flattens contrast and throws a soft blue cast over the far tree lines. On those clips we pull the blacks down a touch, add a little clarity, and warm the midtones so the greens read like actual grass instead of gray-green soup. Early fall is the easy season here. The light cleans up and the color mostly takes care of itself.
Richmond hands you a different palette. The James River catches golden-hour light beautifully, and the city's red brick and historic blocks love a warm grade that leans into it. Come autumn the tree cover along the river turns, and you can let saturation come up a hair to catch it. The rule in both markets is the same. Match the grade to what the place actually looks like on a good day, and don't push it past what a buyer would see standing there.

Our Quick Pass on Every Aerial Clip
Here's the short version of what we run through before an aerial job leaves the edit bay. Nothing fancy, just the stuff that keeps a sequence looking like it belongs together.
Set white balance on the first clip, then match every other shot to it so the whole sequence holds one look.
Cut on motion. Aerial moves are slow and smooth, so let a push or a pan finish before you jump to the next shot.
Watch the highlights on bright exteriors. Rooftops and light siding blow out fast, and you can't get that detail back.
Grade the sky and the ground separately when you need to. A little masking keeps the greenery rich without turning the sky neon.
Export a quick draft and watch it on your phone. That's where most people will actually see it, so it has to hold up small.
Practical Tips for Applying Cut and Color Techniques
None of this has to be complicated. Start with your light. A well-lit scene is way easier to fix later, and it saves you a ton of time afterward. Then get comfortable in whatever software you're using. Premiere Pro and DaVinci Resolve both handle cuts well, so pick one and learn it.
After that, just play around. Push your highlights and contrast and see what small moves actually do. Try the different cut types and pay attention to how each one changes the pace. You learn this stuff by doing it.
If you want a little structure, there are plenty of courses and free tutorials that start with the basics and build from there. The real secret is reps. The more you cut and grade, the faster you get and the better your eye becomes.
Exploring Software Tools for Editing
Your software matters, and there's a tool for whatever you're doing. For stills, Lightroom and Photoshop give you fine control over color and light. For video, Final Cut Pro and Premiere Pro have the room you need for creative cuts and transitions.
There's also a newer crowd of AI-assisted tools worth a look. Luminar Neo, for example, can clean up color and rescue under-exposed shots fast, which is handy if you're still learning. The right pick depends on the project and how deep you want to go. Good software won't shoot the photo for you, but it'll take a good frame a long way.
Tell a Stronger Aerial Story
Cuts and color are what take an aerial clip from fine to memorable. Pro or hobbyist, once you get a feel for these two, your footage starts to look like it has a point of view. Shoot it, then take your time in the edit and tell the story right.
Most of our aerial work ends up on real estate listings, and the same cut-and-color habits carry straight over to a good listing flyover. We got into that side of it in our guide to drone photography for Upstate SC real estate.
Want aerial work that's already cut, graded, and ready to post? That's what we do. Reach out to Beyond All Media or call us in the Carolinas at (864) 714-0724 or Richmond at (804) 913-3013.


Comments