
Photography for Real Estate Developments: What to Shoot at Each Phase
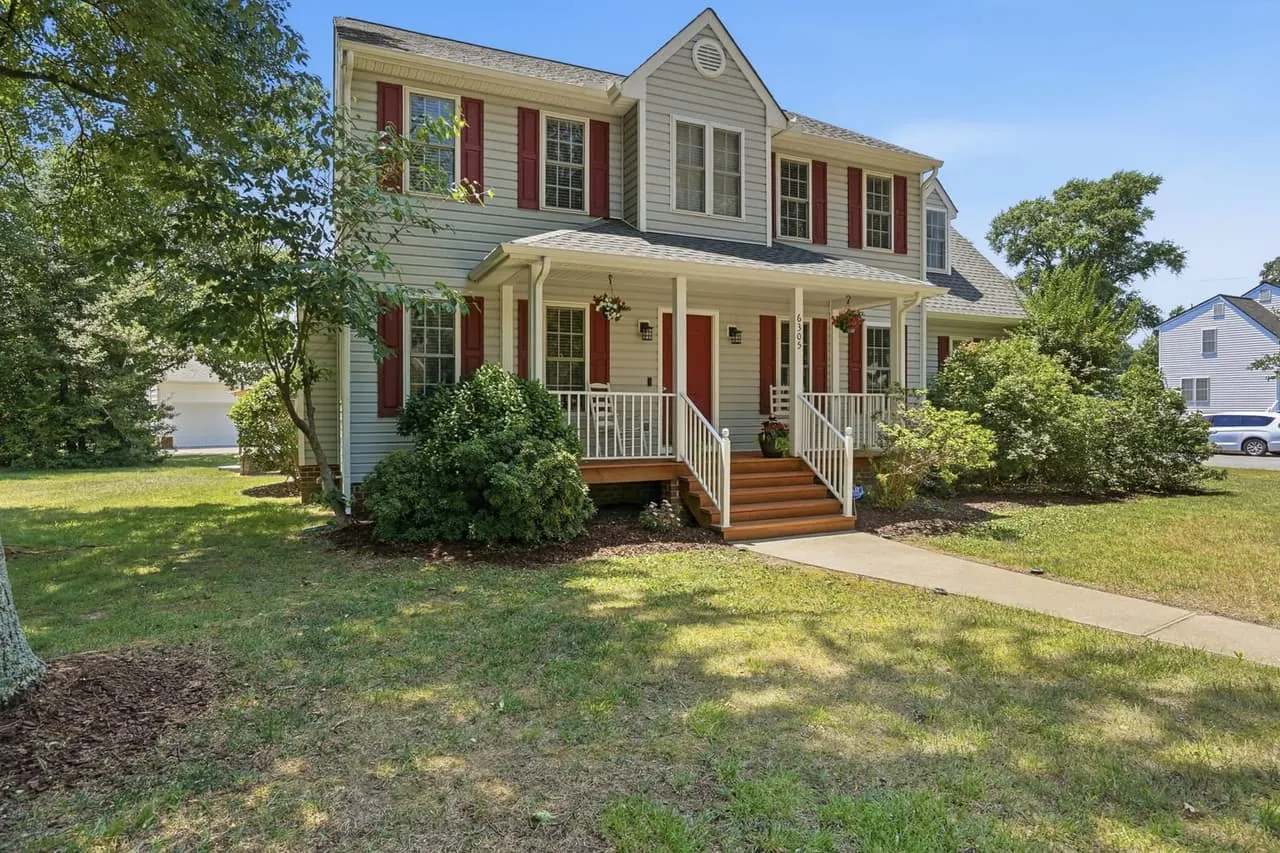
A development isn’t one listing. It’s a place that has to be sold before it exists, and then sold again once it’s finished. The photos you need change at every phase, and planning them up front keeps you from paying to re-shoot a site that has already changed.
Before anything is built: the land in context
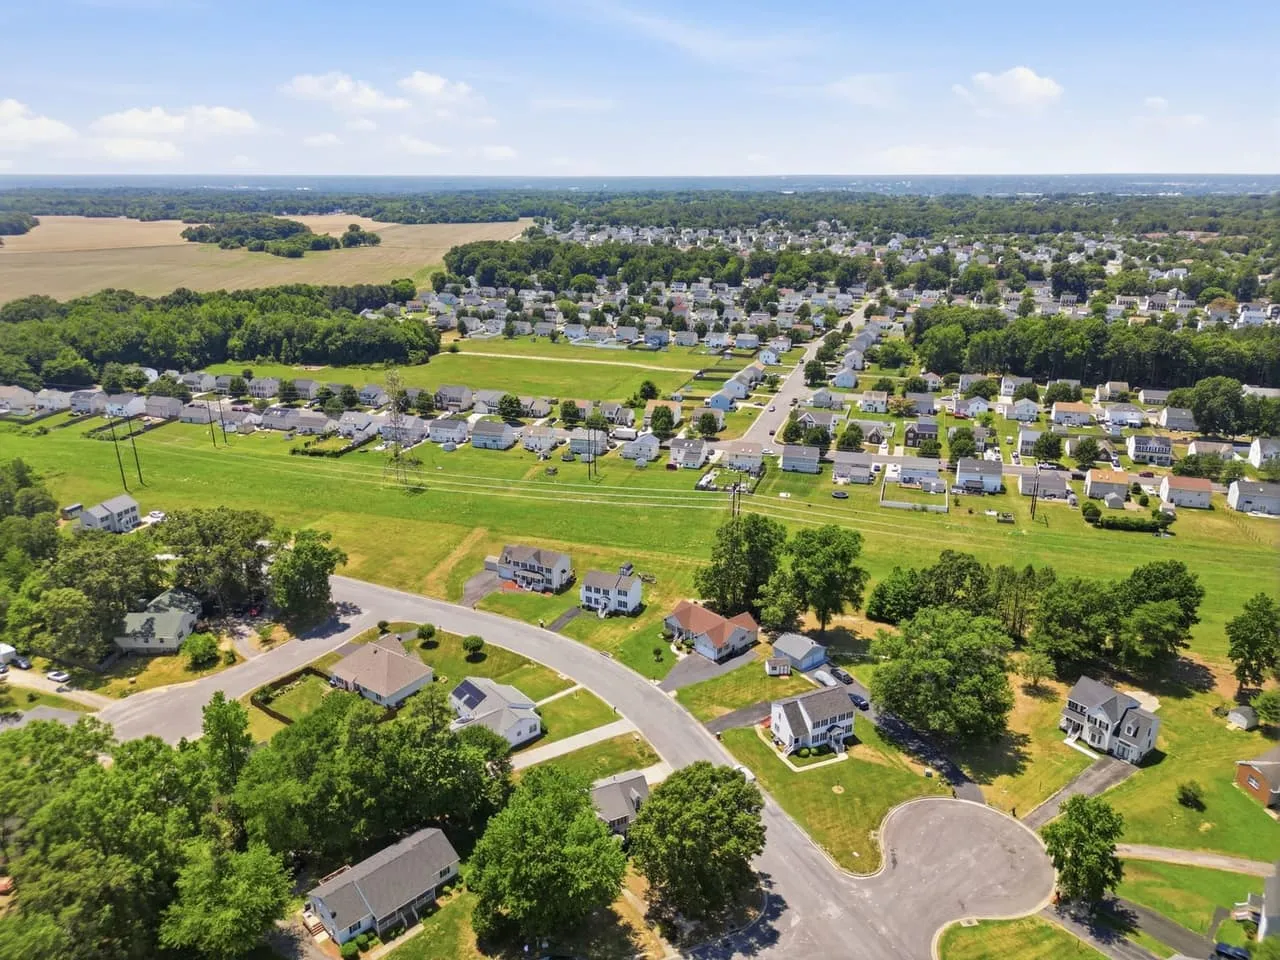
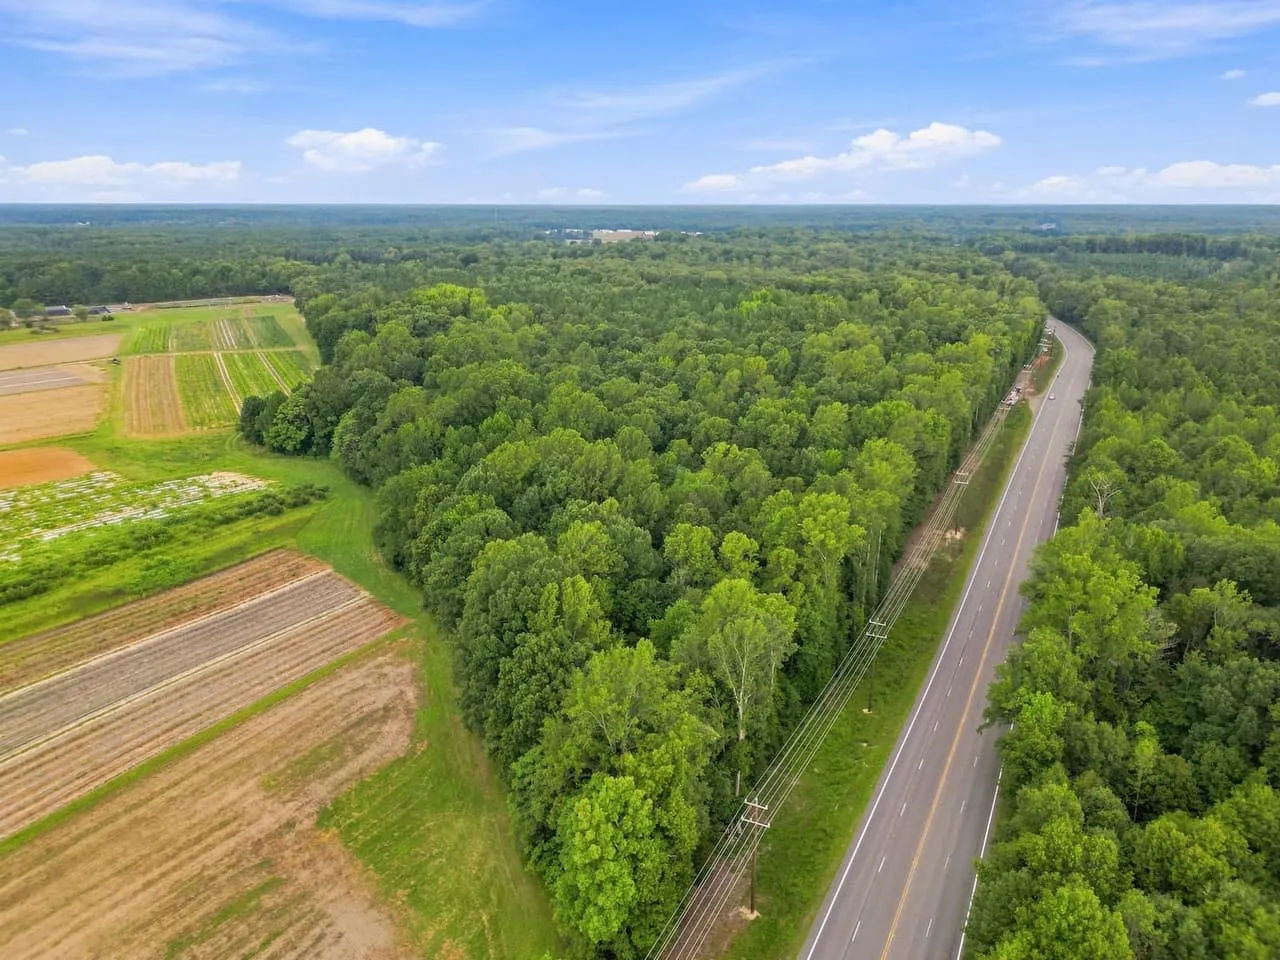
The first useful image is an aerial of the parcel and everything around it. Buyers and investors want to see the setting: the road frontage, the tree line, the water, how close the nearest development sits. A straight-down frame reads almost like a site plan. A lower oblique shows how the land lies.
Shoot it before clearing starts. You can’t get the trees back later, and this set becomes the baseline every progress visit is compared against. Low sun brings out grade changes and drainage that midday flattens.
If you overlay lot or phase lines on an aerial, label them as estimates. A drawn line on a photo isn’t a survey.
While it’s under construction
Roads, utilities and the first foundations are what buyers and lenders want evidence of, and the entrance usually goes in early enough to photograph while the rest is still dirt. Fly the same positions each visit, at the same time of day, so each set lines up with the last. Our guide to construction progress photography covers how that cadence works and what to check on airspace. In the controlled airspace around RIC, GSP, Donaldson or CAE, the pilot checks LAANC before booking the date, and a zero on the grid means a manual FAA request that can take weeks.
Model homes, amenities and the entrance
This is the set that does the selling, so wait until it’s ready.
- The entrance. The monument sign and the first view of the street are the community’s front door. Shoot them in warm, low light with the landscaping finished.
- Model home exteriors and interiors. Staged, clean and lit consistently. Your model is the product every buyer compares the rest to.
- Amenities. Pool, clubhouse, trails and playgrounds, photographed when they’re clean and empty, not on opening weekend.
A sample shot list for a finished community
Here’s what a hypothetical 60-lot community might want once the first phase is built:
- Entrance monument and the street view just past it, in warm low light
- One wide aerial that shows the whole community in its setting
- One aerial oblique along the main street, showing the homes and the landscaping
- The model home: front, rear, kitchen, main living area, primary suite
- Each amenity, from the angle a buyer would first see it
- Two or three lifestyle frames, like a trail or a pool, with people only if you have releases
That’s a manageable set. Add a second round when the next phase opens, shot from the same positions so the community’s growth is visible.
A tour for the buyer who isn’t local
Plenty of buyers shortlist remotely before they book a visit. A 3D walkthrough of the model lets them walk the floor plan from home, which is useful for relocating and out-of-town buyers. We cover how that works in why 3D virtual tours win listings.
Plan one shot list for every channel
The brochure, the website, signage, social posts and each home’s listing page all pull from the same shoots. Match the look across phases, with the same time of day and a consistent edit, so the community feels like one product. Ask for web-sized and print-resolution files up front. When individual homes in the community go on the market, our new construction listing playbook covers those shoots.
Sequence the shoots to the sales calendar
Work backward from the dates that matter, like a sales-center opening, a grand opening event or a new phase release. Book the finished-community set a few weeks ahead of that date so weather has room to push it. Twilight is worth an attempt at the entrance, because a lit monument sign and lit model-home windows against a deep blue sky make the strongest frame of the day. The usable window is short, so the photographer should be set up well before it starts.
When to hold off
Don’t shoot the hero set while the entrance is still mud and the model has no landscaping. Take a progress set instead, and book the finished frames once the place looks like the brochure. If the sales center opens in phases, shoot each finished piece when it’s ready, not all at once.
Ready to plan the shoots? See our packages, or call Beyond All Media: South Carolina (864) 714-0724, Richmond (804) 913-3013.