
What Techniques Are Used for Professional Cut and Color Editing in Photography?
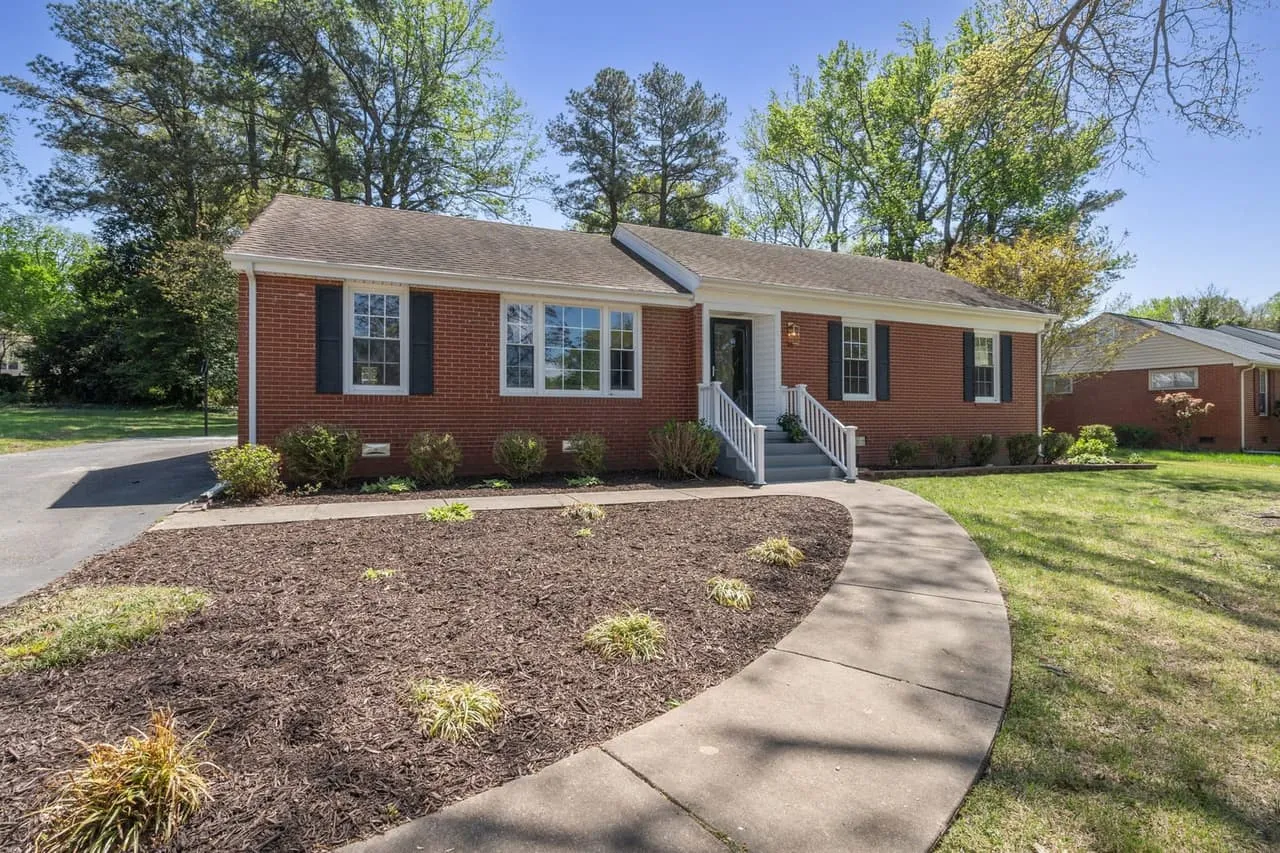
Photography is only half about pressing the shutter. The other half happens after, at the computer, and good cut and color editing is what turns a solid photo into one that actually sells a room. Here’s a look at the techniques we use to get there, and why they matter even more on a real estate shoot where the goal is an honest, flattering look at a home.
The basics of cut and color editing
Before the fancy stuff, get comfortable with the basics. That usually means Photoshop and Lightroom, and it means knowing what layers, masks, curves, and histograms actually do. Those four give you most of your control, so poke around until they feel like second nature.
It also helps to know a little color theory and how light and shadow shape a photo. Those fundamentals are what let you make smart calls instead of guessing. And keep your intent in mind. Sometimes you’re correcting a photo, sometimes you’re pushing it to carry a certain mood. On a listing you’re almost always correcting first, because a buyer wants to see the house as it really is, not a filter.
Layers and masks
Layers and masks are the backbone of clean editing. Layers let you stack adjustments and experiment without wrecking the original file, which is a lifesaver on anything complicated. You can always dial one back or throw it out.
Masks let you paint a change onto just part of the photo. Brighten a dim corner of a living room without blowing out the window, or warm up the floors while the walls stay neutral. Group related adjustments to keep the file organized and you’ve basically got unlimited do-overs on every edit.
Color balance and exposure
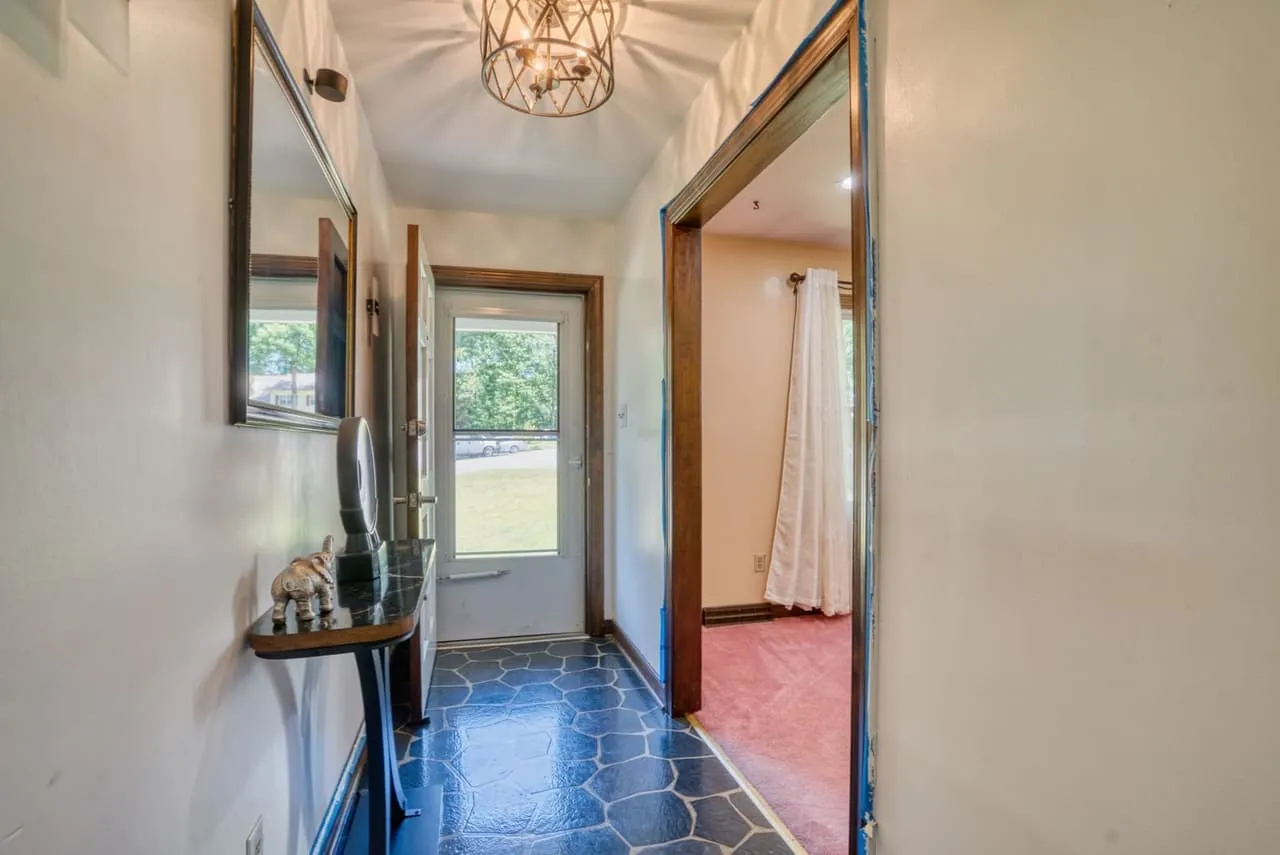
Color balance can make or break the feel of a shot. White balance is the fix for a color cast, getting your whites actually white instead of tinted blue or yellow. In a house that matters a lot, because most rooms are lit by a mix of daylight from the windows and warm bulbs in the ceiling, and those two fight each other. Get the balance right and the room reads clean and true.
Exposure controls how light or dark things read, and careful tweaks pull detail out of the shadows or add a little drama with contrast. The aim is a photo that still feels natural but hits a bit harder than the straight-out-of-camera version. Overcook it and buyers can tell, which is the last thing you want on a listing.
Selective color
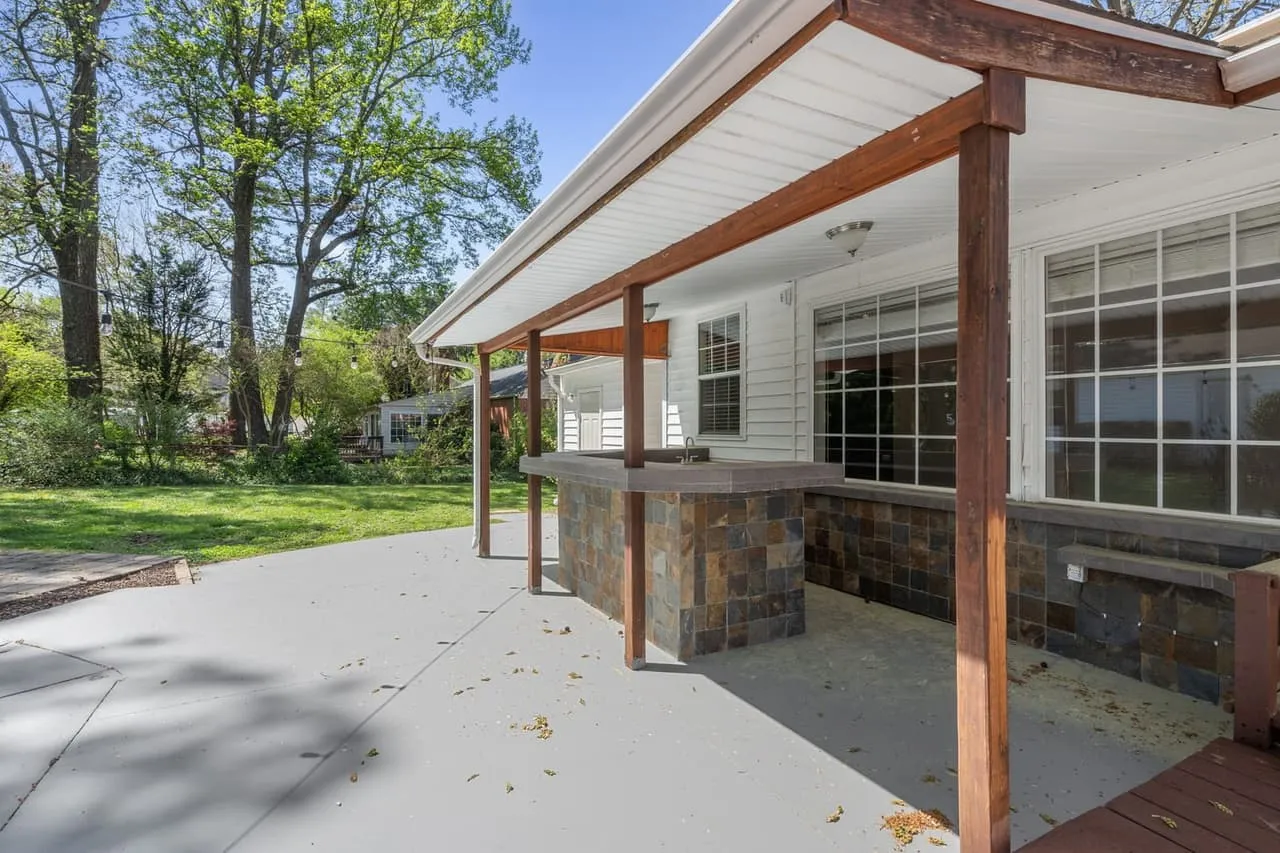
Selective color lets you push some hues and pull back others to steer the eye. Knock the saturation out of a busy background and the foreground suddenly pops, sending attention exactly where you want it. On a home this is more about restraint than flash. You might gently green up a patchy summer lawn or calm down a wall color that photographed too strong, but the room should still look like the room.
Local conditions: Upstate SC, Columbia and Richmond
Editing choices aren’t one-size-fits-all, and the Southeast throws its own curveballs. In the Upstate, around Greenville, Spartanburg, and Anderson, you get bright skies and heavy green in the summer, plus that red clay that can push a warm cast across a whole exterior. In Columbia the light can get harsh and contrasty in the afternoon. In Richmond you’re often shooting older brick homes where the red tones need a careful hand so they don’t go orange.
A good edit reads the local conditions. Pulling the sky back on a blown-out SC afternoon, evening out mixed light in a Richmond dining room, or keeping brick honest instead of cartoonish is the difference between a photo that looks pro and one that looks off. It’s the same set of tools every time, just applied with an eye for what the property and the region actually need.
Sharpening
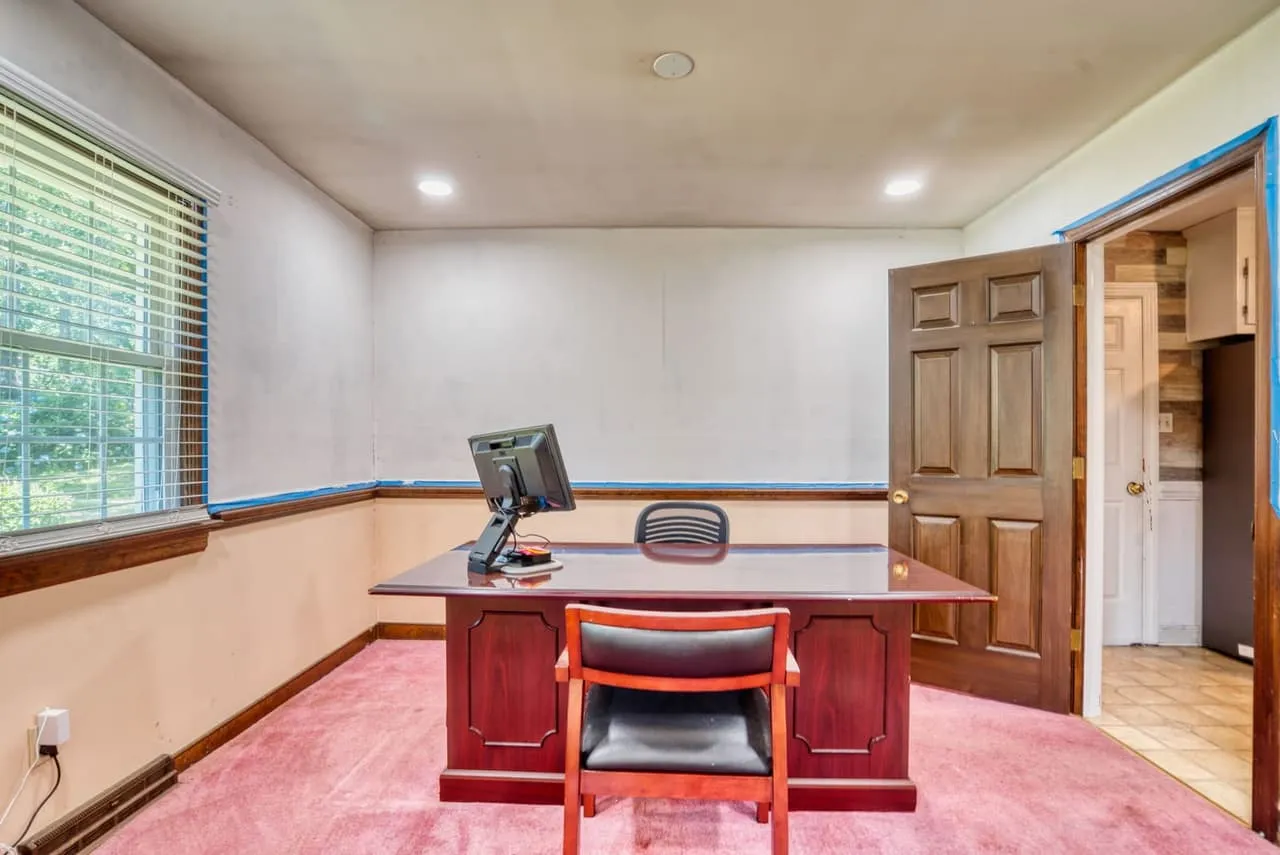
Sharpening cleans up edges and fine detail, but it’s easy to overdo. Push it too far and you add noise that cheapens the shot. The Unsharp Mask tool gives you real control over how much and where.
Aim it at the spots that benefit, like trim, cabinetry, or the texture in a hardwood floor, and leave the rest alone. Targeted sharpening keeps a photo crisp without that crunchy, over-processed look that screams heavy editing.
Filters
Filters can shift the whole mood of a photo, warming a scene or adding a bit of punch. On real estate work they are usually a light finishing touch, not the main event. The key is a soft hand and a clear reason for reaching for one.
Window pulls and flash blending
Here’s the part nobody outside the trade talks about. On a listing, the hardest edit in the house is the window. Your eye handles a bright window and a dim room at the same time without complaining. A camera sensor doesn’t. Expose for the room and the window goes white. Expose for the window and the room goes black.
There are two honest ways out. Bracketing means firing three to seven frames at different exposures and blending them, so you keep the room and the view. Flash blending means lighting the room with strobes, exposing for the window, then masking the flash frame over the ambient one. Flash blending takes longer and looks better, because the color stays clean and the shadows land where you put them instead of wherever the sun felt like it.
Either way, the mask is the whole job. Paint the view back in, feather the edge so the frame doesn’t glow, and check the mullions at 100 percent zoom. A halo around a window frame is the fastest way to make a photo announce that it was edited.
Mixed light: keeping a room from splitting orange and blue
Walk into a kitchen at four in the afternoon. The recessed cans overhead are warm. The under-cabinet LEDs are cooler. Daylight through the slider is cooler still. Three color temperatures, one frame.
Set a single white balance for that shot and something is going to look wrong. The countertop reads green, or the ceiling goes orange while the window wall goes blue. The fix is local, not global. Mask the warm zones and cool them down, mask the daylight side and warm it up, and meet somewhere believable in the middle.
The cheaper fix happens before you ever open the file. Turn the lamps off. A room lit by one source edits quickly and cleanly, and it’s a big reason our interiors come back looking like they belong to the same house. That’s also why our room-by-room listing prep checklist spends as much time on lights and blinds as it does on clutter.
Straight verticals
Door frames should be vertical. Corners should be vertical. The second they lean, a room reads like a funhouse and the buyer can’t tell you why the photo bothers them, only that it does.
Most of that gets solved at capture by keeping the camera level and shooting from about chest height. Whatever is left gets corrected in Lightroom’s Transform panel or Photoshop’s lens correction. Watch the cost, though. Straightening a heavy tilt crops the frame and stretches the corners, so a small tilt fixed in software is fine and a big one usually means the shot should have been taken again.
The other half of this is lens choice. Push past roughly 16mm on full frame and the edges of the frame stretch, anything near them looks distorted, and the room reads bigger than it is. The buyer figures it out the moment they walk in. Wide enough to show the space, not so wide that you’re writing a check the house can’t cash.
Where the edit stops
Editing has a line and it’s worth saying out loud where ours sits.
- We will pull windows, blend flash, neutralize color casts, straighten verticals, clean up a stray cord or a trash can left at the curb, and put a blue sky behind a house that got a gray morning.
- We will not remove a permanent feature, patch a crack in the driveway, erase the neighbor’s shed, or make a room a size it isn’t.
That second list exists because those edits come back on the agent at the showing. A buyer who feels misled standing in the driveway isn’t buying the house, and the photo that got them there did nobody any favors. Nobody has ever regretted a picture that shows the property on a good day. Plenty of people regret one that shows a property that doesn’t exist.
How long editing takes
The edit takes real time, and window pulls and mixed light are what eat the clock. Rushing the blending is how halos and color casts get through. Delivery follows the schedule in the order confirmation (see our delivery standard). Speed comes out of the editing, and editing is where the value is.
A quick edit checklist
Before you call an edit done, run through a few checks:
- White balance is neutral and the whites look white, not blue or yellow
- Windows are pulled back enough to see outside without going gray
- Verticals are straight and the room isn’t leaning
- Shadows still have detail and the highlights aren’t blown out
- Colors look true to the actual space, not oversaturated
- Sharpening is targeted, with no halos or noise
Editing is a big part of what you’re paying for with a pro, and it’s a big part of what we do. Beyond All Media shoots and edits real estate photography across Upstate SC, Columbia, and Richmond, and if you want to see how it all comes together on a listing, check out our real estate photography playbook. Video gets its own edit, covered in how cuts and color shape a listing video. Ready to book a shoot? South Carolina (864) 714-0724 or Richmond (804) 913-3013.